
Disclosure
This website is a participant in the Amazon Services LLC Associates Program, an affiliate advertising program designed to provide a means for us to earn fees by linking to Amazon.com and affiliated sites.
Cleaning battery terminals and clamps means removing corrosion and dirt with a baking soda and water paste, then scrubbing the metal with a stiff brush until it shines. A clean, tight connection lets a car battery tester read voltage and current accurately.
I mix a few spoonfuls of baking soda with water, brush it on the terminals and clamps, and rinse with clean water. Then I dry everything and tighten the clamps before I attach the tester leads.
Stop Guessing About Dirty Terminals
Dirty terminals and clamps cause voltage drops that make your tester read low or jump around. You clean them, but you still can’t tell if the battery is weak or the connection is bad. The ANCEL BM200-US clips on and logs real voltage over time, so you see the true state of your battery.
This is the monitor I bolted on after one too many false “bad battery” readings from crusty clamps: ANCEL BM200-US 12V Bluetooth Car Battery Tester Monitor

- 🔋High Value Battery Tester: BM200 is your go-to solution for 12V...
- 🚗Keep Your Journey Smooth: Ever lose your car in a crowded parking...
- 🎄Cranking & Charging System: The cranking test helps you assess the...

Why Dirty Battery Terminals and Clamps Give You Bad Tester Readings
Dirty terminals and clamps give you bad tester readings because corrosion blocks the flow of current. The tester sees resistance, not the true battery condition. In my experience, that small layer of white crust causes big headaches.
How Corrosion Fools Your Car Battery Tester
That crusty buildup acts like a thin wall between the tester and the battery. Your meter may show a weak battery when the battery is actually fine. I once swapped a healthy battery because a tester read low voltage through dirty clamps.
The same thing happens with starting problems. A loose, corroded clamp can make your car crank slowly on a cold morning. You blame the battery, but the connection is the real culprit.
What Dirty Connections Cost You in Time and Money
I have watched friends buy a new battery they did not need. The old one was fine. The clamps were just dirty.
- Wasted money on a battery that was never the problem
- Frustrating no-start mornings when you are already late
- False test results that send you chasing the wrong fix
- Extra trips to the shop for a simple cleaning job
Why Clean Clamps Make Every Test Trustworthy
Clean metal gives your tester a clear path to the battery. That means the numbers you see are real. A two-minute cleaning saves you from guessing and from spending money on parts you do not need.
Tools and Steps for Cleaning Battery Terminals and Clamps Safely
You do not need fancy gear to get this done. Honestly, most of it is already in your garage. Here is what worked for us.
What You Need to Clean Battery Terminals
Gather a few simple items before you start. Keep safety first, because battery acid is no joke.
- Baking soda mixed with a little water to form a paste
- A stiff brush or an old toothbrush
- Safety glasses and nitrile gloves
- A clean rag and a little petroleum jelly
- A wrench to loosen the clamps
Step-by-Step Cleaning for Accurate Tester Results
Always disconnect the negative clamp first, then the positive one. This order keeps you safe if your wrench touches metal. Scrub the paste onto the terminals and clamps until the fizzing stops.
Rinse with clean water and dry everything well. Then reconnect the positive clamp first, followed by the negative. Tighten them snug so they do not wiggle.
How to Keep Terminals Clean Between Tests
A thin coat of petroleum jelly slows corrosion down. I recheck my terminals every few months, especially before a long trip. A quick wipe now saves a frustrating morning later.
Nothing stings like a tester that says your battery is dead when it is perfectly fine, and you have already priced a replacement. If you want a tester you can trust after a good cleaning, the one I sent my brother to buy has been solid for us:
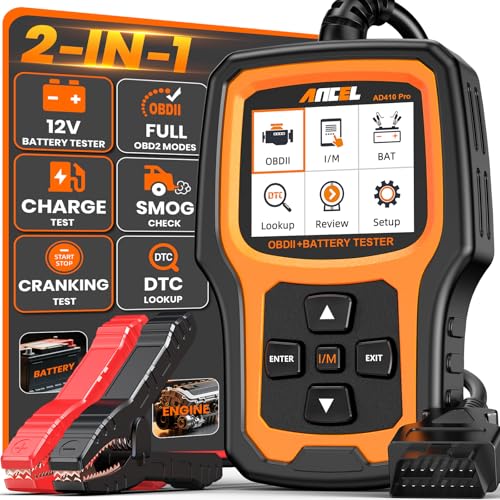
- 【2-IN-1 Engine Diagnostic & Battery Tester】: Upgraded from...
- 【Silence the Check Engine Light】: Panicked when the check engine...
- 【Comprehensive Battery System Test】: Stop guessing why your car...
What I Look for When Buying a Car Battery Tester
Buying a tester is simpler than the spec sheets make it look. These are the few things that actually matter in daily use.
Clear, Easy-to-Read Results
You want a screen you can read in one glance, even in dim garage light. If a tester makes you squint or decode blinking lights, you will stop using it. My first tester had tiny symbols I never fully figured out.
Solid Clamps That Grip Tightly
The clamps matter as much as the electronics inside. Loose or flimsy clamps give shaky readings and slip off mid-test. Look for clamps with strong springs and wide jaws that bite onto the post.
Simple Operation Without a Manual
A good tester should work after one quick look at the buttons. If you need the manual every time, it will sit in a drawer. I like models where you clamp on, press one button, and get a clear answer.
Built to Handle Real Garage Conditions
Your tester will see cold mornings, dust, and the occasional drop. A sturdy case and thick leads hold up far better than thin wires. In my experience, a tough build matters more than extra features you never touch.
The Mistake I See People Make With Battery Terminal Cleaning
The biggest mistake is testing the battery without cleaning the clamps first. I wish someone had told me this earlier. A dirty connection can make a healthy battery look dead.
People clamp the tester right onto the crusty post and trust the number on the screen. That number is often wrong. The corrosion adds resistance, so the tester reads lower voltage than the battery actually holds.
What should you do instead? Clean both the post and the clamp until the metal is shiny, then tighten everything snug before you test. If the reading still looks low after cleaning, then you can trust it.
Skipping the cleaning step sends you shopping for a battery you may not need.
Few things feel worse than a car that will not start on a work morning, and you are stuck guessing whether it is the battery or the connection. If you want a tester that gives you a clear answer after a proper cleaning, what finally worked for our old truck has earned a spot in my toolbox:

- 【Reliable Automotive Car Battery Tester】 KW208 is the most...
- 【Galvanized Alloy Battery Clips】This battery tester has updated...
- 【 >99.7% High Accuracy】Thanks to KW208 meter‘s powerful and...
A Simple Trick That Makes Every Battery Test More Reliable
Here is the tip I wish I had learned years ago: test the connection before you test the battery. After cleaning, give each clamp a gentle twist. If it moves at all, it is too loose.
That little wiggle check takes five seconds and catches problems early. A clamp that shifts under your hand will give a shaky reading and may even spark. I tighten until the clamp feels firm with no play.
The other trick is to look at the clamp jaws, not just the battery post. Corrosion hides inside the jaws where you cannot easily see it. I scrub the inside of each clamp with the same baking soda paste until the metal shines.
These two habits changed how much I trust my tester. Clean, tight connections mean the numbers on the screen are real. You stop guessing and start fixing the right thing.
My Top Picks for How to Clean Battery Terminals and Clamps for a Car Battery Tester
KONNWEI KW208 12V Car Battery Load Tester Analyzer — Clear Answers Without the Guesswork
The KONNWEI KW208 is the tester I reach for first when I want a quick, clear readout after cleaning my terminals. I love that it shows voltage and load results on one screen without extra steps. It suits folks who want a simple digital answer at home.
The trade-off is that it needs a well-charged battery to run its tests.
- 【Reliable Automotive Car Battery Tester】 KW208 is the most...
- 【Galvanized Alloy Battery Clips】This battery tester has updated...
- 【 >99.7% High Accuracy】Thanks to KW208 meter‘s powerful and...
Schumacher Electric 100A Battery Load Tester Voltmeter — A Tough Analog Workhorse
The Schumacher Electric 100A Battery Load Tester Voltmeter is the one I grab when I want a rugged, no-frills check in the garage. I love that the analog gauge is easy to read and needs no batteries of its own. It fits people who like simple tools that just work.
The trade-off is that it is heavier and bulkier than digital testers.

- RUN 3 TESTS WITH 1 DEVICE: Diagnose battery health, charging system...
- TEST WITH CONFIDENCE: Safely handle 6V and 12V batteries up to...
- WORKS ON WHAT YOU DRIVE: Compatible with gas and diesel vehicles, this...
Conclusion
Clean, tight terminals are the single most important step before you trust any battery tester reading. The numbers only mean something when the connection is solid.
So grab a little baking soda paste and an old toothbrush this evening, scrub those clamps until they shine, and run your test again — it takes five minutes and it might save you the price of a battery you never needed.
Frequently Asked Questions about How to Clean Battery Terminals and Clamps for a Car Battery Tester?
Can I test my battery without cleaning the terminals first?
No, you should always clean the terminals and clamps before testing. Corrosion adds resistance and can make a healthy battery read low.
I learned this the hard way after nearly buying a battery I did not need. A quick scrub with baking soda paste gave me a true reading the second time.
What is the best way to remove heavy corrosion from battery clamps?
A baking soda and water paste is the best starting point for heavy corrosion. It neutralizes the acid and loosens the crust so a stiff brush can lift it off.
For really stubborn buildup, I let the paste sit for a few minutes before scrubbing. Then I rinse with clean water and dry everything completely before reconnecting.
How do I know my clamps are tight enough for an accurate test?
The clamps are tight enough when they do not move at all under a gentle twist. Any wiggle means a shaky connection and an unreliable reading.
I always tighten until the clamp feels firm on the post. Loose clamps can also spark, so this check keeps you safe too.
What is the best battery tester for someone who wants a clear digital reading after cleaning?
The KONNWEI KW208 is a strong pick because it shows voltage and load results on one clear screen. It gives you a simple digital answer without extra steps.
It suits home users who want quick, readable results after a good terminal cleaning. For a tester I trust after every scrub-down, the one I keep in my own garage has been reliable for us.
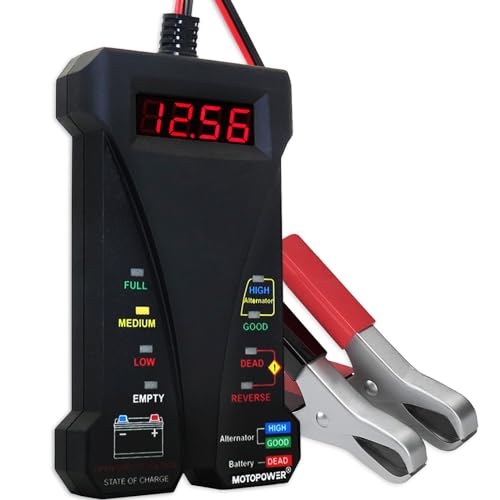
- Effortless Operation - Boasting a “plug-and-test” design, there's...
- Reliable Safety Features - Equipped with reverse connection protection...
- Precise Testing Results - Fitted with a 4-digit digital LCD display...
Which battery tester won’t let me down when I need a rugged check in a cold garage?
The Schumacher Electric 100A Battery Load Tester is a solid choice because its analog gauge needs no batteries of its own. It keeps working when other tools quit.
It fits people who prefer simple, tough tools over digital screens. When I want a no-frills check that just works, what finally worked for our old truck has never failed me.
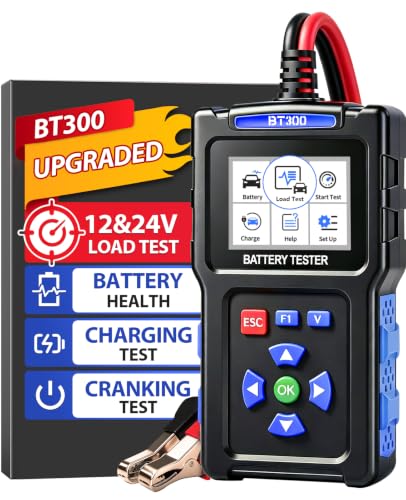
- Universal Battery Tester 12V / 24V: TopDiag BT300 battery load tester...
- Accurate Battery & Alternator Diagnosis: Equipped with intelligent...
- Cranking Test & Charging Test: TopDiag BT300 automotive battery tester...
How often should I clean my battery terminals?
You should clean your battery terminals every three to six months, or whenever you see white crust forming. A quick check before a long trip is always smart.
I also clean mine right before any important test so the numbers are trustworthy. It takes a few minutes and saves plenty of guessing later.