
Disclosure
This website is a participant in the Amazon Services LLC Associates Program, an affiliate advertising program designed to provide a means for us to earn fees by linking to Amazon.com and affiliated sites.
An automotive circuit tester can time an old motorcycle by connecting it across the points to show the exact moment they open, letting the ignition fire at the right piston position. The tester’s light or tone switches as the points break, giving a clear visual or audible signal instead of guesswork.
We set the engine to the timing mark, clip the tester lead to the points terminal and ground, then rotate the backing plate until the light just changes state. That moment is where the spark should fire, so we lock the plate down and double-check the marks line up.
Reading Points Without Guessing
Old points and condensers give you no feedback. You set the gap by eye, kick it over, and hope. A plain test light only glows or stays dark, so you never see the actual voltage at the points. That leaves you guessing whether the ignition circuit is weak or just fine.
Here is the tester I keep in my own tool roll for exactly this job: WINAMOO 5-90V Digital LED Automotive Circuit Tester

- 【LED Digital Display】: WINAMOO automotive circuit tester with LED...
- 【Extended Spring Wire with Alligator Clip】: Maximum extended to...
- 【Bidirectional indicating light】: There is a bidirectional light...
Why Ignition Timing Matters on an Old Motorcycle
Bad timing turns a fun old bike into a frustrating machine. I learned this the hard way on a tired twin I bought cheap. It kicked back hard enough to bruise my shin, then refused to idle.
That bike taught me what poor timing really costs. It is not just a rough ride. It is wasted weekends and money thrown at the wrong parts.
What Bad Ignition Timing Does to Your Engine
When the spark fires at the wrong moment, the engine fights itself. The piston gets pushed before it reaches the top, so power drops and heat climbs. In my experience, this shows up as hard starting, weak pull uphill, and a hot, unhappy motor.
You also burn more fuel for less go. A mistimed engine runs rich or lean in ways the carb can never fix. I once chased a carb problem for weeks before I checked the timing.
The Real Cost of Guessing at Your Timing
Guessing gets expensive fast. I have watched friends buy new coils, plugs, and carbs trying to fix a symptom that was really just timing. That is real money gone for nothing.
- Hard kickstarting that wears out your leg and your patience
- Kickback that can crack a case or hurt your ankle
- New parts bought to fix a problem that was never the parts
- Endless tuning that never quite gets the bike right
A circuit tester costs very little and takes minutes to use. In my experience, it saves you all that wasted cash and frustration.
Setting Up Your Automotive Circuit Tester for Ignition Timing
Honestly, the setup is the easy part once you know where things go. We keep it simple and check every connection twice before we trust the light.
How to Connect a Circuit Tester to Motorcycle Points
You clip one tester lead to the points terminal and the other to a good ground on the frame. The tester then reads the points as they open and close. When the points break, the light or tone changes, and that is your timing signal.
Make sure the ignition is on but the bike is not running. In my experience, a weak ground is the number one reason the tester gives a muddy reading.
Finding the Timing Marks on an Old Engine
Every old bike hides its marks somewhere different. Look on the flywheel, the stator plate, or a small window on the case. Clean the area first, because old grease hides the lines.
- Turn the engine slowly by hand to find the marks
- Line up the static timing mark with the pointer
- Wipe the marks clean so you can actually see them
Reading the Tester Signal as the Points Open
Rotate the backing plate slowly and watch the tester. The exact moment the light changes is when the spark fires. Lock the plate there and recheck the marks.
You know that sinking feeling when the bike kicks back and your ankle takes the hit? Stop guessing and let the tester show you the exact moment the points open — what finally worked for us was a simple circuit tester like this one, and it ended the guesswork for good:
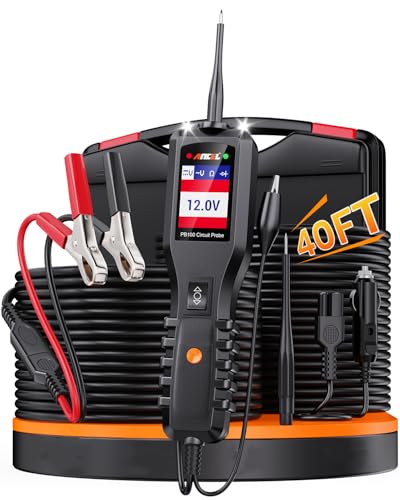
- ALL-IN-ONE POWER CIRCUIT TESTER — EASY & ACCURATE: Fix vehicle...
- ADVANCED FOUR WORKING MODES — SIMPLE & INTUITIVE: Seamlessly switch...
- LOCATE SHORT CIRCUITS & BAD GROUNDS ACCURATELY: Quickly troubleshoot...

What I Look for When Buying an Automotive Circuit Tester for Old Bikes
Not every tester suits an old points ignition. Here is what actually matters when you are standing in the aisle or scrolling online.
Does It Have a Clear Light or Tone?
You need a signal you can see or hear while your hands are busy. A bright light or a loud tone tells you the exact moment the points open. I once used a dim tester and missed the change every time, so now I only grab one with a strong, obvious signal.
Can It Handle Low Voltage Safely?
Old bike ignition circuits run on low voltage, and you do not want a tester that draws too much current. A tester built for low-current circuits protects your points and coil. In my experience, a tester that pulls too much can pit the points and leave you chasing a new problem.
How Long Are the Leads?
Short leads make you crouch and stretch, which is miserable on a cold garage floor. Look for leads long enough to reach from the points to a solid ground with slack to spare. I learned this after a cramped afternoon under a low frame.
Is the Clip Strong Enough to Stay Put?
A weak alligator clip slips off the points terminal right when you need a steady reading. Give the clip a firm squeeze before you buy, or check the reviews for grip complaints. A clip that stays put means you can turn the plate with both hands free.
The Mistake I See People Make With Ignition Timing
The biggest mistake is trusting the tester light without setting the engine to the right mark first. People clip it on, spin the plate, and call it done. I did exactly this on my first attempt.
The tester only shows when the points open. It cannot tell you if the piston is in the right spot. If the crank is not lined up on the timing mark, that clean signal means nothing.
So set the engine to the timing mark by hand before you touch the tester. Then rotate the plate until the signal changes. Always recheck the marks after you lock the plate down, because things shift.
You know that knot in your gut when the bike kicks back and you wonder if you just wrecked the timing for good? Stop chasing it blind and let a tester show you the truth — what finally worked for us was the tester I keep in my own toolbox, and it took the guesswork out for good:
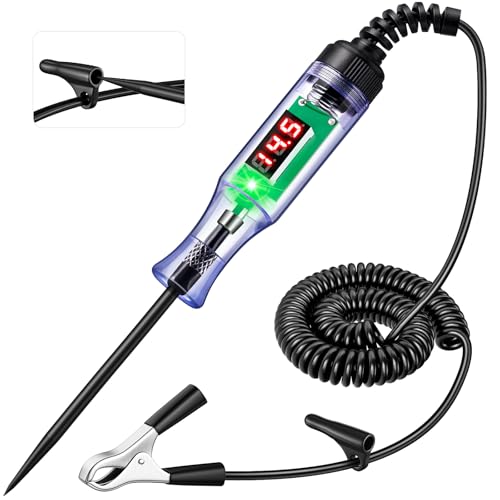
- ACCURATE LED DIGITAL READOUTS: This automotive test light allows you...
- BUILT TO LAST: Sharp, rugged stainless steel probe easily penetrates...
- EXTRA LONG REACH FOR EASY OPERATION: 96 inches of high-quality...
Turn the Engine by Hand to Catch the Exact Moment
Here is the tip that changed how I time old bikes: turn the engine by hand, not with the kicker. Slow, steady movement lets you watch the tester signal and the timing mark at the same time. That is how you catch the exact instant the points open.
When you spin the engine fast, the signal flickers and you miss it. I use a wrench on the crank nut and move it a few degrees at a time. The light changes right where the marks line up, and that is your spot.
Then lock the plate and turn it through once more by hand to confirm. If the signal lands in the same place twice, you nailed it. This one habit saved me hours of guesswork and a lot of bruised shins.
My Top Picks for How to Time an Old Motorcycle With an Automotive Circuit Tester
FEAOXYO Heavy Duty 3-48V Digital Automotive Test Light — The One I Reach For First
The FEAOXYO Heavy Duty 3-48V Digital Automotive Test Light is the tester I grab when I want a clear digital readout instead of squinting at a bulb. I love that it shows voltage numbers, so I can see the points signal change, not just guess. It suits anyone who likes real numbers.
The trade-off is you need to watch the screen closely.
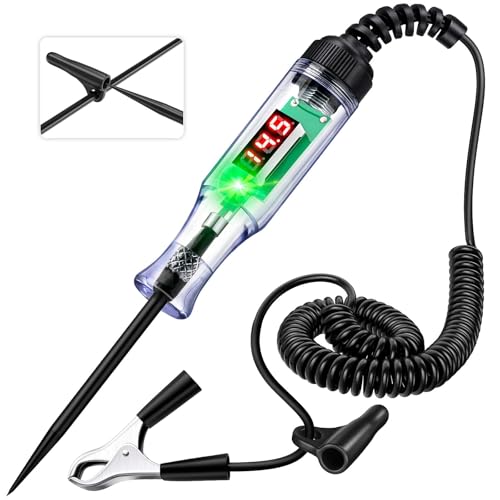
- INSTANT AND ACCURATE VOLTAGE READINGS: This professional digital test...
- AVOID COSTLY CONNECTION ERRORS: Stay safe and protect sensitive...
- BUILT TO SURVIVE THE BUSY WORKSHOPS: This electrical tester boasts a...
JASTIND Heavy Duty 6-24V Automotive Circuit Tester — The Simple, Tough Backup
The JASTIND Heavy Duty 6-24V Automotive Circuit Tester is the plain, rugged option I keep in the toolbox for quick checks. I love that the bright light is easy to see while both my hands are busy turning the plate. It is perfect for anyone who wants simple and sturdy.
The honest trade-off is it gives you a light, not a voltage number.

- 【Extra Spring Light Bulb】 : High visibility and strictly tested...
- 【Quality Made Fuse Tester】 : Heavy Duty Construction, large size...
- 【135 Inch PU Spring Cord】 : Portable 135 inch long enough PU...
Conclusion
The one thing that matters most is setting the engine to the timing mark before you trust the tester signal.
So grab your tester, clip it to the points, and turn that engine by hand tonight — it takes a few minutes and it might be the moment your old bike finally runs right.
Frequently Asked Questions about How to Time an Old Motorcycle with an Automotive Circuit Tester?
Can an automotive circuit tester really time an old motorcycle?
Yes, an automotive circuit tester can time an old motorcycle with points ignition. It works because the tester shows the exact moment the points open, which is when the spark fires.
You still need to line up the engine on its timing mark first. The tester confirms the moment, but the mark sets the position. Together they give you accurate timing without a strobe light.
What is the best automotive circuit tester for someone timing an old bike in a dim garage?
A tester with a bright, easy-to-see light is the best choice for a dim garage. You need a signal you can spot at a glance while your hands are busy turning the plate.
I keep a rugged tester in my own toolbox for exactly this reason. For anyone working in low light, the tester I keep in my own toolbox has a clear light that is easy to read.
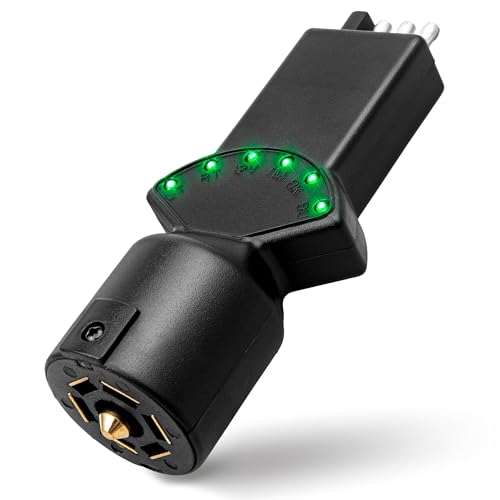
- Note 1: The trailer tester will upside down when testing for...
- 2 in 1 Design: This trailer light tester combines both 4 way circuit...
- 6 Light Functions: Versatile trailer wiring tester can be used to test...
Do I need to remove the spark plug to set the timing?
No, you do not need to remove the spark plug to set the timing by hand. You can turn the engine slowly with a wrench on the crank nut and watch the timing marks.
Removing the plug just makes turning easier on some bikes. If the engine turns smoothly by hand, leave the plug in and save yourself the hassle.
Which circuit tester won’t let me down when I’m checking points on the roadside?
A simple, tough tester with strong clips is the one that won’t let you down on the roadside. You want a firm grip on the points terminal and a signal that survives a little vibration.
I have had weak clips slip off mid-check, and it wasted a whole afternoon. For roadside work, what finally worked for us was a heavy-duty tester with clips that stay put.
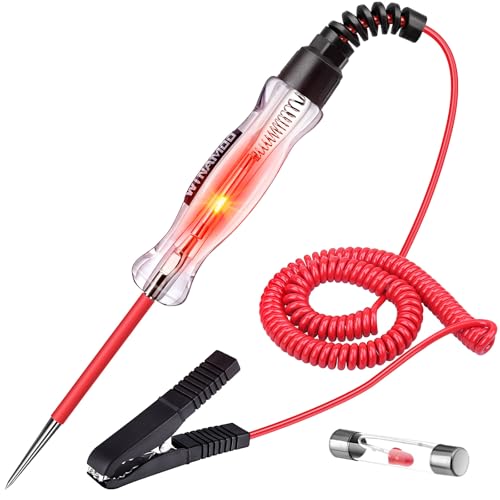
- [Quality LED Bulb] WINAMOO LED test light bulb has been subjected to...
- [Large Alligator Clip with Extended Spring Wire] Large size crocodile...
- [High Quality Made] This electric tester pen utilises a sharp...
How do I know the tester signal is at the right spot?
The signal is at the right spot when the light changes exactly as the timing marks line up. Turn the engine by hand slowly and watch both at the same time.
Then lock the plate and turn it through once more to confirm. If the signal lands in the same place twice, your timing is set correctly.
Can I use a circuit tester on a bike with electronic ignition?
No, a basic circuit tester is not meant for electronic ignition systems. Those systems use sensors and a control box instead of mechanical points, so the tester has nothing to read.
This method is for old bikes with points and a condenser. If your bike has a black control box and no points, check the manual before you probe anything.