
Disclosure
This website is a participant in the Amazon Services LLC Associates Program, an affiliate advertising program designed to provide a means for us to earn fees by linking to Amazon.com and affiliated sites.
Inspecting a new radiator for debris before install with a borescope means feeding the camera probe into the inlet and outlet ports and the top hose neck, then slowly sweeping the tank and core tubes while watching the screen for metal shavings, sand, or casting grit. A flexible probe around 5 to 8 mm wide slips through most hose fittings without scratching the seams.
I always do this check on the bench before the radiator goes anywhere near the engine bay. In my experience, the debris hides in the corners of the end tanks and just inside the core face, so I rotate the probe and tilt the radiator to let loose material slide into view. Catching it now takes a few minutes instead of a coolant flush later.
See Inside Before You Install
Metal shavings and packing foam can hide deep inside a new radiator, and you will never spot them from the inlet. Those bits can block a core tube or chew up your water pump after install. A slim camera lets you look down every channel and clear the junk before it costs you a repair.
This is the exact scope I keep in my toolbox for peeking inside radiator cores: Kinpthy 1920P HD Endoscope Camera with 8 LED Lights
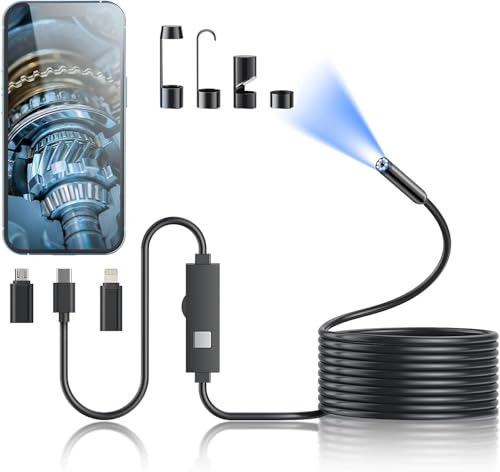
- 1920P HD Resolution: Sewer camera with 7.9mm probe can inspect...
- Easy Connection: This borescope inspection camera can easily and...
- Semi-Rigid Cable & Waterproof Probe: Snake Camera can bend freely and...
Why Debris Inside a New Radiator Matters Before You Install It
Debris inside a new radiator can wreck a cooling system fast. In my experience, it is one of the most overlooked problems on a fresh install. Leftover grit blocks tubes and wears out your water pump.
What Happens When Metal Shavings Reach Your Engine
I once skipped the borescope check on a replacement radiator. Two weeks later, my truck ran hot on the highway with my kids in the back. The mechanic found a slug of casting sand and aluminum bits clogging the core.
That debris came from the factory, not the road. It traveled straight into the cooling passages. The repair bill stung far more than a few minutes with a camera would have.
How Debris Quietly Damages Your Cooling System
Small particles act like sandpaper inside your engine. They grind against the water pump impeller and the thermostat. Over time, that wear shows up as leaks and stuck valves.
- Clogged core tubes that cut cooling capacity
- Water pump impeller wear and early failure
- Stuck thermostats from grit in the housing
- Overheating that can warp a cylinder head
Why a Bench Check Saves You Real Money
A borescope inspection takes five minutes on the bench. A failed water pump or a warped head costs hundreds or more. In my experience, that trade is a no-brainer.
You also avoid the frustration of draining fresh coolant twice. Catching debris early means one clean install and no do-overs.
How to Choose and Use a Borescope for Radiator Inspection
Honestly, you do not need a fancy camera for this job. A basic USB or handheld borescope works fine. What matters is the probe size and a bright light on the tip.
What Borescope Features Matter for Radiator Checks
Look for a thin, flexible probe that fits through hose necks. A light on the tip is a must, because end tanks are dark. A screen you can tilt helps when you are crouched under the hood.
- Probe width around 5 to 8 mm for tight ports
- Adjustable LED brightness for dark tanks
- Articulating tip if you want to sweep corners
- Waterproof camera head for wet flushing
How to Sweep the Tanks and Core Step by Step
Start at the inlet port and feed the probe in slowly. Rotate it as you go so you see the full tank wall. Then check the outlet and the top hose neck.
Tilt the radiator to let loose grit slide into view. In my experience, the corners of the end tanks hide the most debris. Take your time in those spots.
How to Flush Out What You Find
If you spot shavings or sand, flush the radiator with clean water before install. Keep flushing until the water runs clear. Then dry it and inspect once more with the camera.
You already worry about your engine running hot on a long drive with the family in the car. That fear of a warped head or a ruined water pump is real money. A quick look inside saves you all of it — the borescope I keep in my toolbox for exactly this:

- Diagnose Engine & Transmission Issues Without Tearing Down: The 5.5mm...
- 5" IPS Screen with Magnification: The 1280x720 display shows crisp...
- Precision Joystick Control + 6 LEDs: The thumb-operated joystick gives...

What I Look for When Buying a Borescope for Radiator Checks
You do not need the most expensive camera on the shelf. You need one that fits, lights up, and shows a clear picture. Here is what actually matters.
Probe Size and Flexibility
The probe has to slide through a hose neck without force. I check the listed diameter first, because a fat probe simply will not fit. A thin, flexible cable also bends around the end tank corners instead of fighting you.
Light Quality at the Tip
End tanks are dark, so the tip light does the real work. Look for adjustable brightness, since a dim light hides small shavings. In my experience, a bright LED tip shows grit that a weak one misses completely.
Screen or Phone Connection
Some models have a built-in screen, and others plug into your phone. A built-in screen is easier when you are alone in the garage. A phone version is cheaper if you already have a good phone camera.
Waterproof Camera Head
You will flush the radiator with water after you find debris. A waterproof head lets you look inside while it is still wet. That one feature saves you from drying the radiator just to check it again.
The Mistake I See People Make With Borescope Radiator Inspections
The biggest mistake is trusting a quick glance at the inlet port and calling it done. I did this myself once, and I missed a pile of grit sitting in the far corner of the end tank. That debris ended up in my water pump.
You have to sweep the whole tank, not just peek at the opening. Feed the probe deep, rotate it, and tilt the radiator so loose material slides into view. Check both the inlet and outlet sides, plus the top hose neck.
Another common slip is skipping the check because the radiator looks new and clean. Factory casting sand and metal shavings hide where light never reaches. In my experience, a shiny exterior tells you nothing about what is inside.
You keep picturing that temperature gauge climbing on a family road trip, and a cheap camera check could spare you a warped head and a big bill. If you want the same tool I use for every radiator now, here is what I finally bought after my own costly miss:
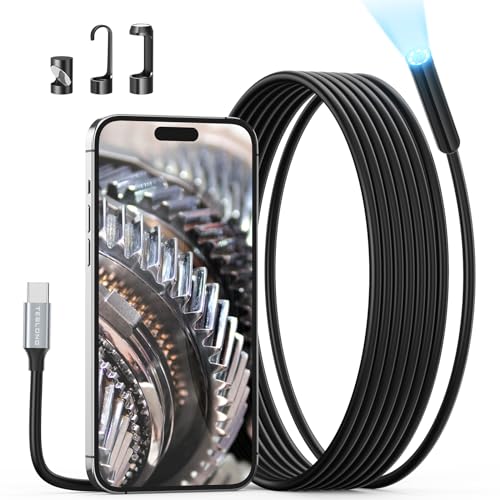
- Universal USB-C Compatibility: The USB-C borescope is seamlessly...
- Effortless Plug-and-Play Experience: Say goodbye to frustrating...
- Light Up the Darkest Corners: Equipped with 8 high-brightness LED...
Shine a Light Through the Port to Catch What the Camera Misses
Here is the tip that changed how I check every radiator. Hold a bright flashlight against one port while you look through the other with the borescope. The light glows through the core tubes, and any blocked or shadowed tube jumps out instantly.
This trick works because the camera alone only shows you the wall it is facing. Backlighting turns the whole core into a map. In my experience, I spot clogged tubes in seconds that I would have missed sweeping with the camera.
You can do the same thing with the top hose neck. Shine the light down from above and watch for dark spots in the glow. Those shadows are your debris.
Pair this with the camera sweep and you cover both the tanks and the core. It takes one extra minute and gives you real confidence before the radiator goes in. Honestly, this is the step I wish someone had shown me years ago.
My Top Picks for How to Inspect a New Radiator for Debris Before Install With a Borescope
Acoath Dual-Lens 1920P HD Endoscope Camera with Light — The Dual-Lens View I Reach For First
The Acoath Dual-Lens 1920P HD Endoscope Camera with Light gives me two camera angles in one probe, so I can see the tank wall and the core at the same time. It suits anyone who wants a clear picture without twisting the cable constantly. The trade-off is a slightly thicker head that takes a moment to feed through tight necks.
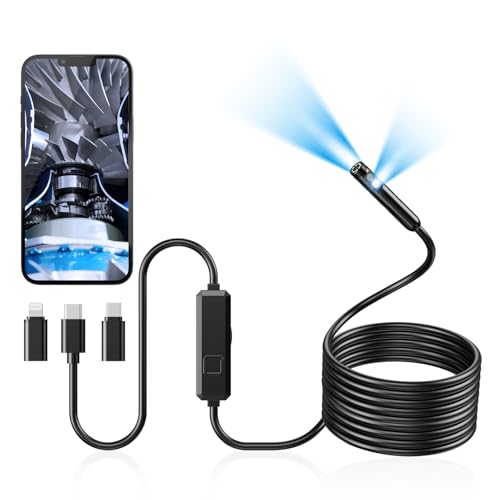
- 1920P Dual Lens Inspection Camera - Aocath dual lens 7.9mm sewer...
- Easy Connection & Silent Work - Pairing our borescope camera with your...
- IP67 Waterproof Borescope & Flexible Semi-Rigid Cable - Our snake...
Ditomil 1920P HD Endoscope Camera with Light — The Simple, Bright One I Hand to Friends
The Ditomil 1920P HD Endoscope Camera with Light has a strong tip light that makes casting sand and shavings easy to spot in dark end tanks. It is a great fit for a first-time buyer who just wants a clear, simple check. The honest catch is that it relies on your phone screen, so you need a charged device nearby.

- [1920P HD View for Tight Spaces] 1920P endoscope with a 7.9mm...
- [Easy Plug-and-Play for iOS & Android Phones] Just download the app...
- [16.4ft Semi-Rigid Snake Cable & IP67 Waterproof Probe] The 16.4ft...
Conclusion
The one thing that matters most is checking the inside of a new radiator before it ever touches your engine. A few minutes with a borescope beats a water pump failure and an overheating engine down the road.
So grab your camera, head to the garage, and sweep both ports and the top hose neck tonight — it takes five minutes and it might save your cooling system from a costly mess.
Frequently Asked Questions about How to Inspect a New Radiator for Debris Before Install with a Borescope?
What is the best borescope for someone who needs to check a radiator before install?
A dual-lens borescope with a bright LED tip is the best pick, because it shows the tank wall and core in one pass. You get fewer blind spots and less twisting of the cable.
I keep reaching for the Acoath Dual-Lens 1920P HD Endoscope Camera with Light for exactly this job. It is the one I grab for every radiator check now.

- 【4.3-Inch HD Display】Endoscope camera is equipped with a 4.3-inch...
- 【Endoscope Camera with Light】The pipe camera probe is equipped...
- 【High-quality snake camera】The 16.4FT semi-rigid cable is both...
Which borescope won’t let me down when I need a clear view inside a dark end tank?
A borescope with adjustable LED brightness will not let you down, since end tanks are dark and small shavings vanish in weak light. Brightness control lets you dim the glare and spot grit clearly.
The Ditomil 1920P HD Endoscope Camera with Light has a strong tip light that makes casting sand easy to see. It is what finally worked for my own garage checks.

- High Quality Display: The endoscope camera with light adopts a...
- Powerful Features Camera : Borescope delicate camera probe is equipped...
- Freely Bend 20FT Cable: The 1.29in short lens for narrow pipe...
How wide should the borescope probe be for radiator ports?
A probe around 5 to 8 mm wide fits most radiator hose necks without force. Anything thicker can snag on the port edge or scratch the seams.
Check the listed diameter before you buy. In my experience, a thin flexible cable bends around the end tank corners much better than a stiff one.
Can I inspect a radiator without draining the coolant first?
Yes, you can inspect a new radiator dry on the bench before any coolant goes in. That is actually the best time, because loose debris has not spread yet.
If the radiator is already installed, look through the ports with the cap off. Just keep the camera head waterproof in case coolant is still inside.
What does factory debris inside a new radiator look like?
Factory debris usually looks like small metal shavings, casting sand, or gray grit sitting in the tank corners. It often hides where light never reaches.
Tilt the radiator so loose material slides into view. I always sweep the far corners of both end tanks, since that is where the most grit collects.
Should I flush a new radiator even if the borescope looks clean?
Yes, a quick water flush is still worth doing even when the camera shows a clean tank. It costs a few minutes and catches anything your sweep missed.
Flush until the water runs clear, then dry it and check once more. That double check is what gives me confidence before the install.